Step-by-step guide
How to Make 3D Walking Mockups
Make a 3D walking clothing mockup in your browser: upload artwork, position your design, choose Walking motion, and export a GIF or MP4.
By 3DClothings
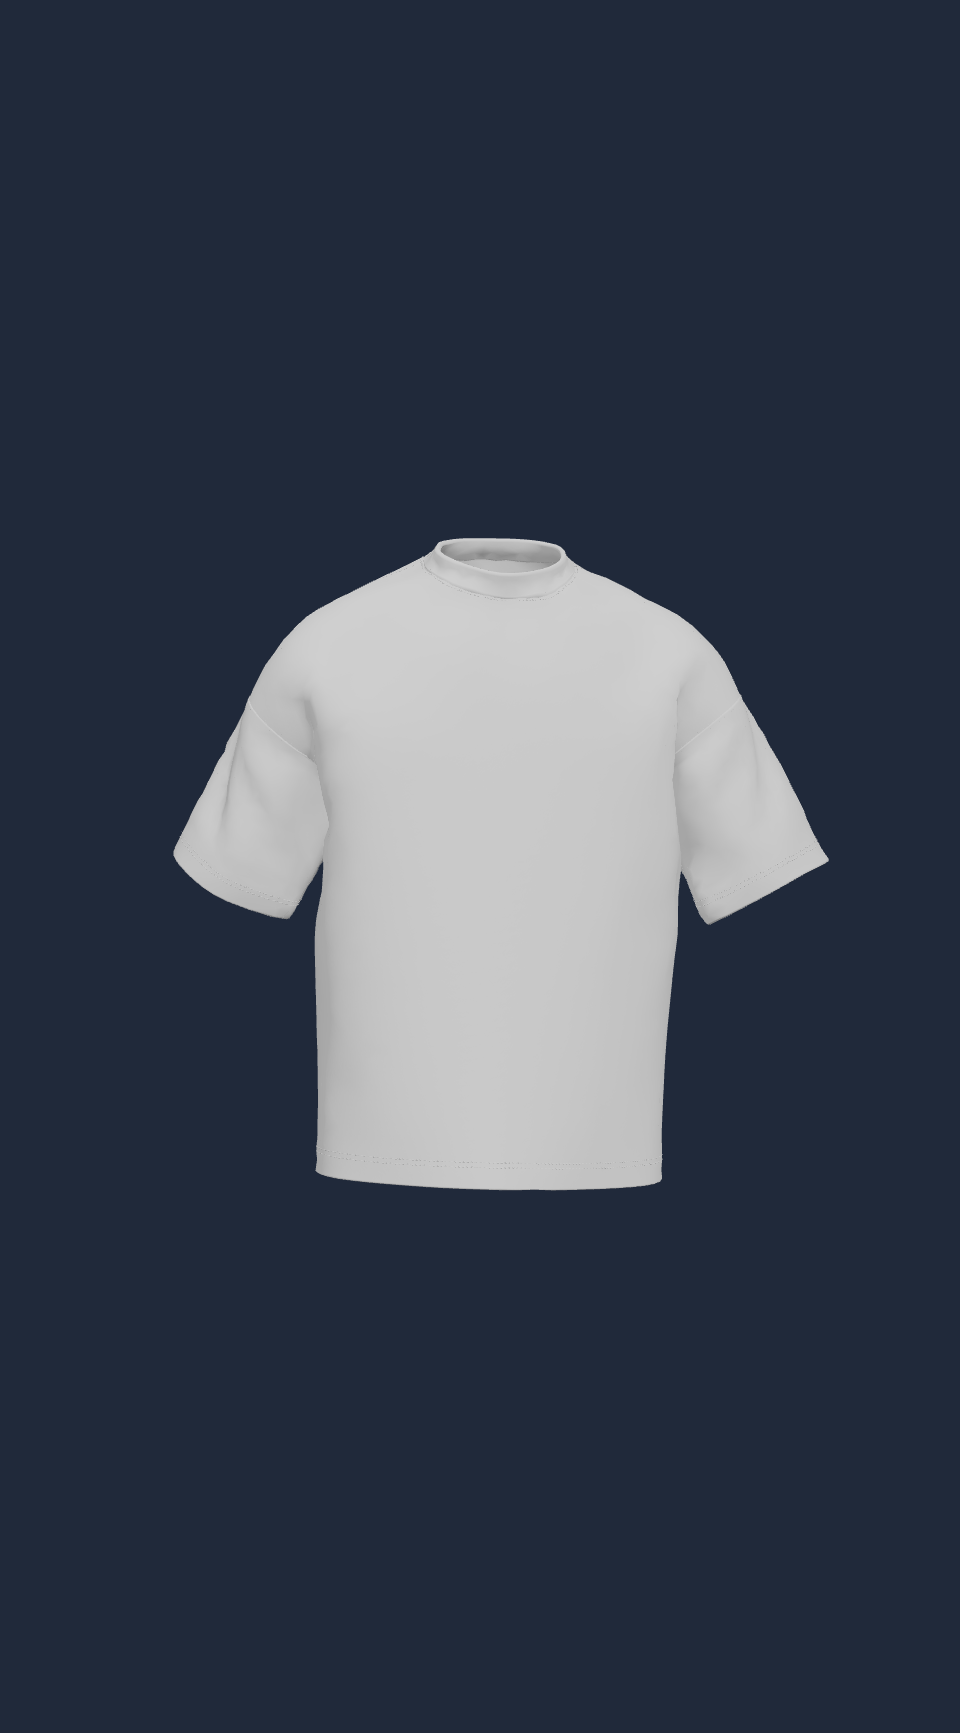
A 3D walking mockup turns flat artwork into an animated clothing preview. Instead of showing only a front-facing product image, it lets you see the garment and print in motion. In 3DClothings, you work with ready-made garment models in your browser; you do not need to model a shirt or build a walking rig yourself.
This guide follows the generator’s Upload, Clothing, Color, Motion, and Export controls. Start with one design and one garment so you can check placement before making variations.
1. Prepare your artwork
Use a clear image of the design you want to place on the clothing. A transparent PNG is useful for a logo or illustration because it avoids adding a rectangular background around the print. If your artwork intentionally includes a background, keep that background in the image.
Open the generator and add your image in Upload. Inspect small lettering and fine lines in the preview: enlarging a low-resolution image will not restore missing detail. Use artwork you own or have permission to reproduce.
2. Choose a garment and position the design
In Clothing, choose T-Shirt, Hoodie, Zip Hoodie, Sweatshirt, Pants, or Tracksuit. The garment changes the shape and available print areas, so check placement again whenever you switch models.
Use the design editor to move and resize your artwork on the intended garment panel. Keep important text away from edges and seams. Zoom is useful for inspecting the preview, but it is not a substitute for resizing the artwork itself.
Next, choose the clothing color and background in Color. Try a contrasting background that makes the garment outline easy to see. Adjust Shine if the fabric highlights distract from the print. A mockup is a visual presentation, not a guarantee of the exact fabric, fit, or print placement of a manufactured item.
3. Add walking motion
Open Motion and select Walking. Use the animation speed control to find a pace at which the print stays readable. Watch the full cycle rather than judging the result from a single frame.
- Check whether the design remains visible as the garment moves.
- Look for artwork that crosses a print-area boundary.
- Compare walking with rotation if you also need to show the side or back.
Walking animates the garment using its existing motion. It does not simulate the fit of your real product on a specific person or generate a new 3D clothing file.
4. Export the mockup
In Export, choose an aspect ratio for the destination, then choose your file type. PNG gives you a still image; GIF and MP4 are the animated options. If you want a walking mockup, use an animated format rather than expecting a PNG to move.
Signed-out exports include a watermark. Sign in to use the watermark-free export option. After downloading, open the file and check the crop, readability, and motion before sharing it. Keep a still product image alongside the animation when publishing a clothing listing.