T-shirt workflow
T-Shirt Walking Mockups Without Blender
Create a walking T-shirt mockup without Blender. Use a ready-made 3D shirt, place your artwork, adjust colors and motion, and download an animation.
By 3DClothings
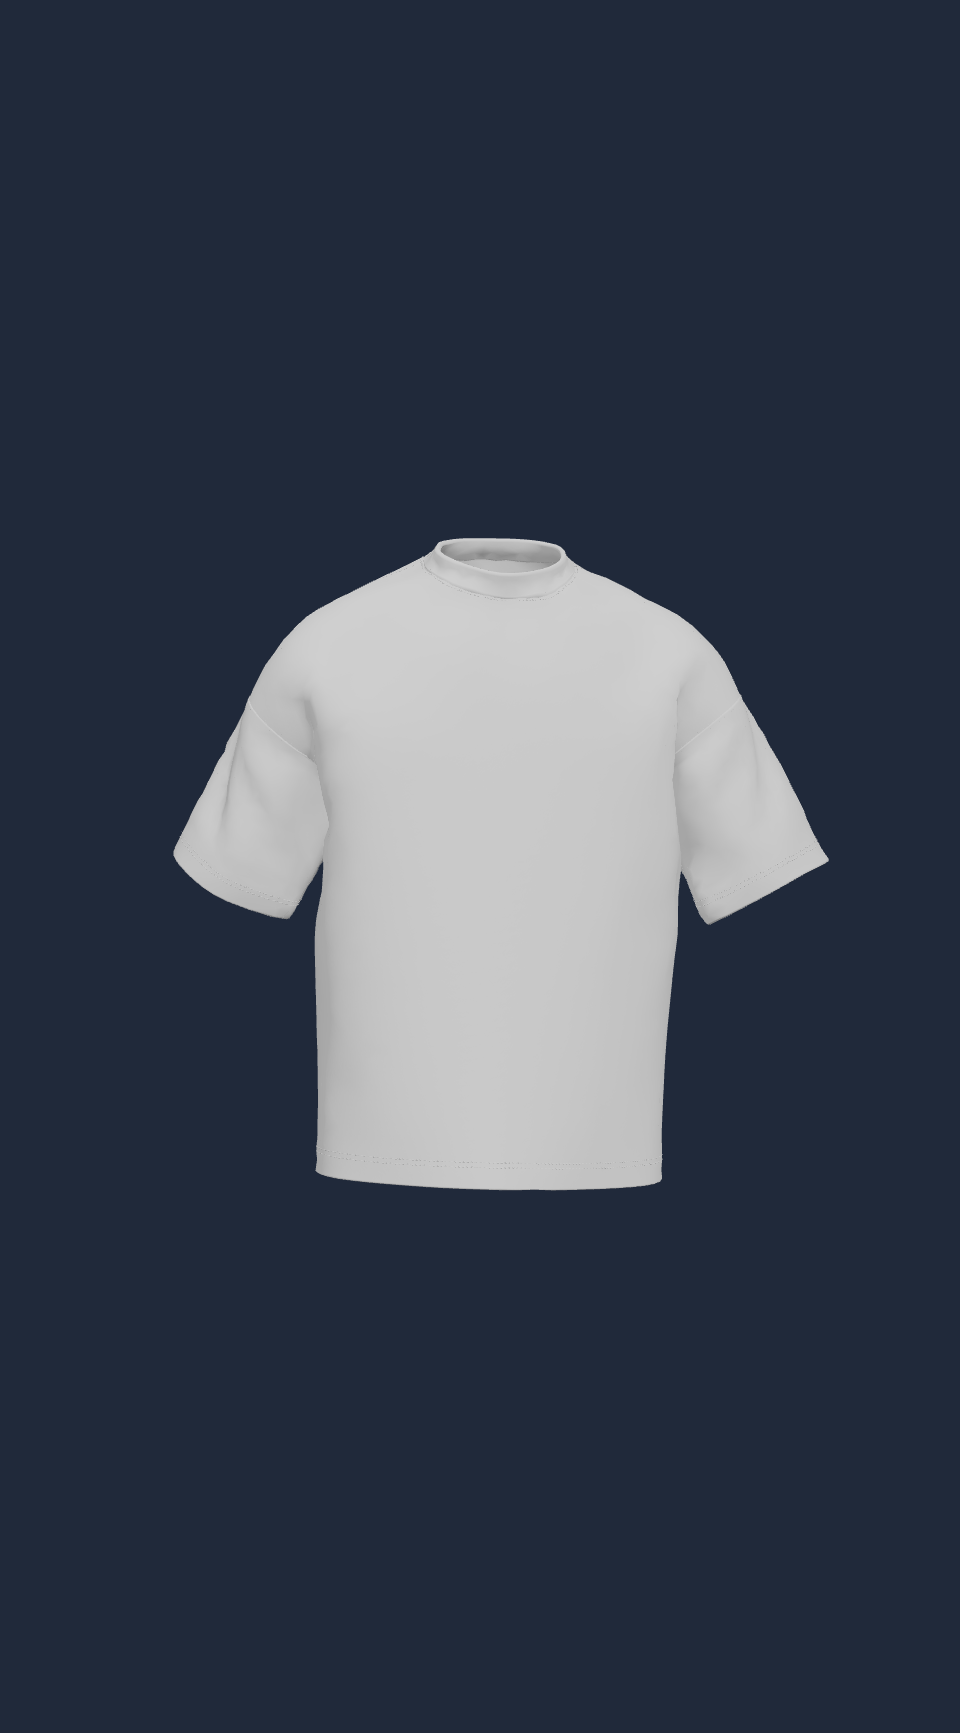
You can create a walking T-shirt mockup without opening Blender. For a quick artwork presentation, a ready-made shirt model removes the need to create geometry, unwrap a mesh, build a rig, and set up a render scene. 3DClothings provides a browser-based workflow for placing an image on a garment and exporting the resulting preview.
The key distinction is the output: you are making a rendered mockup, not downloading an editable 3D shirt project. That makes this approach useful when your goal is to show a print moving on a T-shirt rather than author a custom clothing model.
Start with the ready-made T-shirt
Open the generator with T-Shirt selected. Add your artwork in Upload, then use the design editor to position it on the intended panel. You can work from the desktop controls or the corresponding sections in the mobile navigation.
A transparent design image is helpful when only the artwork should appear on the fabric. Check that you have selected the right garment before refining placement: a graphic that works on a T-shirt may need a different size or position on a hoodie.
Make the print readable before animating
Choose the clothing color, then look at the contrast between that color and the artwork. Dark text can disappear on dark fabric; pale artwork can become hard to see on a light shirt. Resize the print based on its readability rather than filling the largest possible area.
Use the preview zoom to inspect details. It changes your view, while the design editor changes the placement of the artwork. Keep lettering and logos inside the print area, and inspect the garment from more than one angle.
Choose a background that separates the shirt from its surroundings. The Shine control adjusts the clothing appearance; use it to keep highlights from overwhelming the design. These controls help present an idea, but they do not replace checking an actual garment sample.
Select Walking and review the cycle
In Motion, select Walking and adjust the speed. Slower motion can make a detailed print easier to examine, while rotation can be useful when the design also needs to be viewed from another side.
- Watch the entire animation before exporting.
- Check that the print does not become cropped or difficult to read.
- Keep the background consistent when comparing different colorways.
No Blender setup is needed for this workflow because the app already supplies the garment and motion. If you need a custom silhouette, new animation rig, production pattern, or editable 3D source file, that is a different task from this mockup generator’s rendered-image workflow.
Download a still or animation
Choose PNG for a static product preview, GIF for a looping image, or MP4 for a video. Select an aspect ratio that suits your intended placement and review the exported file, not only the live preview.
Sign in if you want watermark-free exports; signed-out exports carry the watermark. Before adding an animation to a store or social post, confirm that the destination accepts that file type. Keep the original artwork so you can return to the generator and create another variation.